






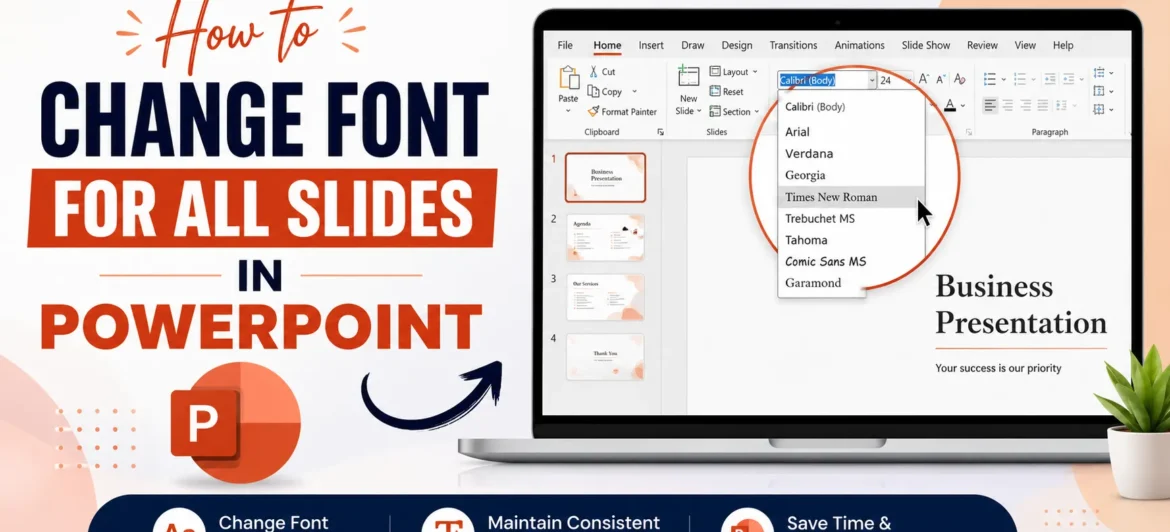
Nothing undermines a professional presentation faster than mismatched fonts scattered across different slides. If you have ever inherited a deck from a colleague, merged slides from multiple sources, or simply changed your mind about a typeface halfway through building a presentation, you already know the frustration. Manually clicking into every text box on every slide is slow, tedious, and prone to human error. Fortunately, PowerPoint gives you several fast, reliable ways to change the font across your entire presentation at once. This guide walks you through every method, from the simplest quick fix to the most powerful long-term solution, so your slides always look polished and consistent.
Why Consistent Fonts Matter in Every PowerPoint Presentation
Before diving into the “how,” it helps to understand the “why.” Font consistency is not just a cosmetic preference — it directly affects how your audience perceives your credibility and how easily they absorb your message.
A presentation with five different fonts feels chaotic, even if the content itself is excellent. Viewers subconsciously associate visual consistency with professionalism, and inconsistent typography can distract from your key points or make a deck look thrown together at the last minute.
Consistent fonts also improve readability. Certain typefaces are easier to read on projectors or shared screens, especially at a distance. When you standardize your font choice, you ensure that every audience member, whether sitting in the front row or joining remotely, can read your content clearly.
There is also a branding angle to consider. Companies and personal brands often have specific font guidelines that reinforce recognition across marketing materials, reports, and pitch decks. Sticking to one font family helps your presentation align with that broader brand identity.
Finally, consistent formatting saves you time in the long run. Once your font is unified across the deck, you can make future edits, add new slides, or duplicate existing ones without worrying about mismatched styles creeping back in.
Understanding these benefits makes the next step — actually changing the font across all your slides — feel far more worthwhile than a simple aesthetic tweak.
Method 1 — Use Select All and Home Tab for a Quick Fix
This is the fastest method if you only need a one-time change and are not planning to reuse the template later.
Step-by-Step Instructions
- Open your PowerPoint presentation.
- Click on the View tab and select Normal view if you are not already there.
- In the slide thumbnail pane on the left, press Ctrl + A (Windows) or Cmd + A (Mac) to select all slides.
- Right-click any selected slide and choose Select All again, or simply use the keyboard shortcut to highlight every element.
- Go to the Home tab and open the Font dropdown menu.
- Choose your desired font, and PowerPoint will apply it across all selected slides.
Important note: This method changes fonts on existing text boxes, but it may not affect placeholders on slides you add later. It is best suited for decks that are already complete.
Method 2 — Change the Font Using Slide Master View (Recommended)
This is the most reliable and professional method, especially if you plan to add more slides in the future.
Slide Master view controls the underlying template of your presentation, meaning any font change here automatically applies to every current and future slide.
Why Slide Master Is the Best Long-Term Solution
- It updates all layouts at once, not just the slides currently in your deck.
- New slides you add later will automatically inherit the correct font.
- It keeps your presentation aligned with a single source of truth for formatting.
- It prevents the need to repeat this process every time you add content.
How to Do It
- Click the View tab, then select Slide Master.
- In the left panel, click the topmost slide master (the larger thumbnail at the top of the list).
- Select all placeholder text by pressing Ctrl + A.
- Go to the Home tab and choose your new font from the Font dropdown.
- Click Close Master View once you are finished.
Because the top-level master governs all layouts beneath it, this single change cascades down to titles, body text, and other placeholders throughout your presentation.
Method 3 — Change Fonts Using Design Themes and Font Pairings
This method is ideal if you want a designer-quality font pairing without manually selecting each typeface yourself.
PowerPoint includes built-in theme fonts, which pair a heading font with a body font for a cohesive, professional look.
Steps to Apply a Theme Font
- Go to the Design tab.
- Click the small dropdown arrow in the Variants group.
- Select Fonts, then choose from the list of built-in font pairings, or click Customize Fonts to create your own combination.
- Your entire presentation updates instantly to reflect the new heading and body font choices.
This method is particularly useful because it maintains proper visual hierarchy between titles and body text, something that manual font changes sometimes overlook.
Method 4 — Replace Fonts Using the Replace Fonts Tool
A lesser-known but extremely efficient shortcut for swapping one specific font for another across the whole file.
If your presentation already uses a font you dislike and you want to replace it everywhere without affecting text formatted in other fonts, this tool is ideal.
How to Use It
- Go to the Home tab.
- Click the small dropdown arrow next to Replace in the Editing group.
- Select Replace Fonts.
- In the dialog box, choose the font you want to replace under Replace, and select your new font under With.
- Click Replace, then Close.
This method is especially helpful for large presentations where manually selecting text on every slide would take far too long.
Common Problems When Changing Fonts (And How to Fix Them)
Even with the right method, a few issues can pop up. Here is what to watch for:
- Some text boxes don’t update: This usually happens with text boxes that were manually formatted rather than tied to a placeholder. Select those boxes individually and apply the font manually.
- Font looks different after sharing the file: If the recipient’s computer doesn’t have the font installed, PowerPoint may substitute a default font. To avoid this, embed the font in your file.
- Charts, SmartArt, or tables don’t change: These elements often need to be updated separately since they are not always linked to the main text placeholders.
How to Embed Fonts So They Display Correctly Everywhere
- Click File, then Options.
- Select Save on the left sidebar.
- Check the box labeled Embed fonts in the file.
- Choose whether to embed only the characters used or the entire font family.
- Click OK and save your presentation.
Embedding fonts ensures your carefully chosen typography displays correctly no matter which device opens the file.
Conclusion
Changing the font across an entire PowerPoint presentation does not have to be a slow, manual chore. Whether you choose the quick Select All method, the more robust Slide Master approach, a designer-friendly theme font pairing, or the targeted Replace Fonts tool, you now have multiple reliable paths to a consistent, polished deck. For presentations you plan to build on over time, Slide Master is generally the smartest choice, since it keeps every future slide aligned automatically. Whichever method you choose, taking a few extra minutes to unify your fonts will make your presentation look more professional, more readable, and more memorable to your audience.